Overview
This post summarizes what you should do after your plane lands at Suvarnabhumi International Airport (BKK), and how to ultimately arrive at your hotel.
Suvarnabhumi is a large airport but fairly easy to navigate. It has a simple structure consisting of multiple long, large parallel halls (over 1km long!) which sit between the airfield and the road. After debarking from your plane you will transfer from one hall to the next and eventually get picked up by a car that I will send to get you. The car will take you to the hotel where you can check in.
Step 1: Exit the plane and proceed to Immigration

After exiting your plane you will enter the first major hallway, which connects all of the arrival gates. Follow the blue sign to the Visa on Arrival sign if you need one (Indians only); otherwise follow it to Immigration.
There are multiple Immigration checkpoint rooms and they can get very busy. So if the first one you see has huge lines, you can keep walking down the main connecting hallway until you find one with fewer people.
Before entering the line to clear, the Immigration checkpoint, you should fill out an Arrival card. You can pick up this small form and fill it out just before the start of the Immigration lines. Additionally most airlines will offer it to you while you’re in flight.
Immigration will need to see your passport and your arrival card, if asked about the purpose of your visit tell them you’re on a holiday.
Step 2: Collect your bags and clear Customs
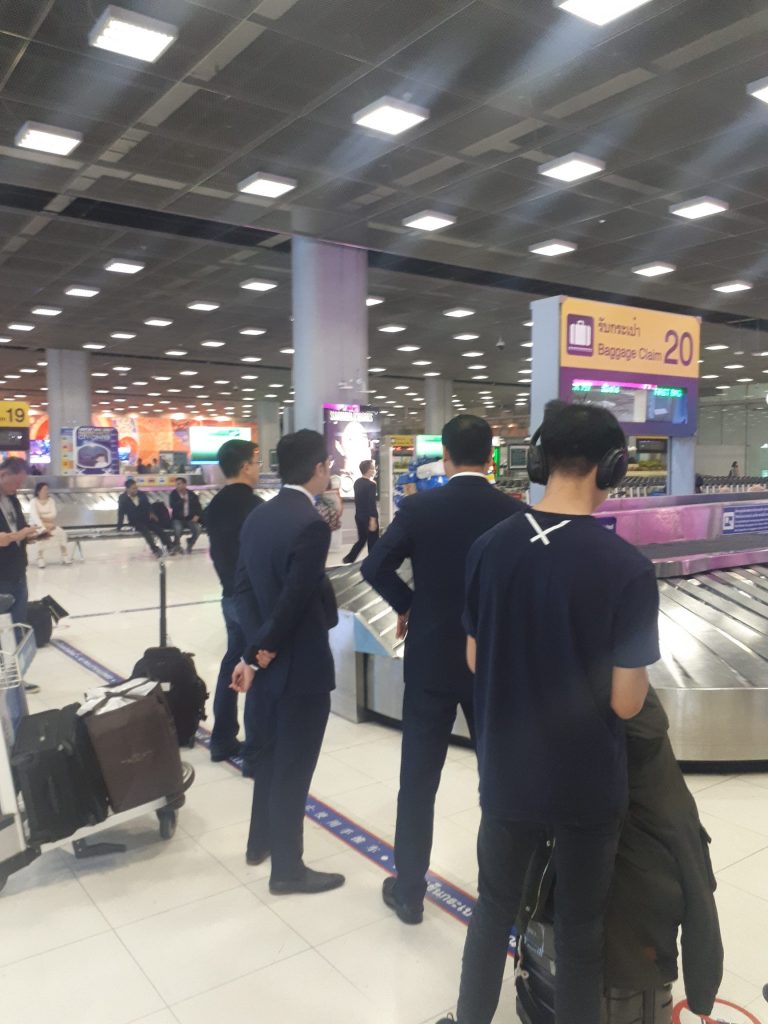
After Immigration stamps your passport you are officially in Thailand. Your next step should be to collect your bags from the luggage carousels in the again very long and large luggage hallway.
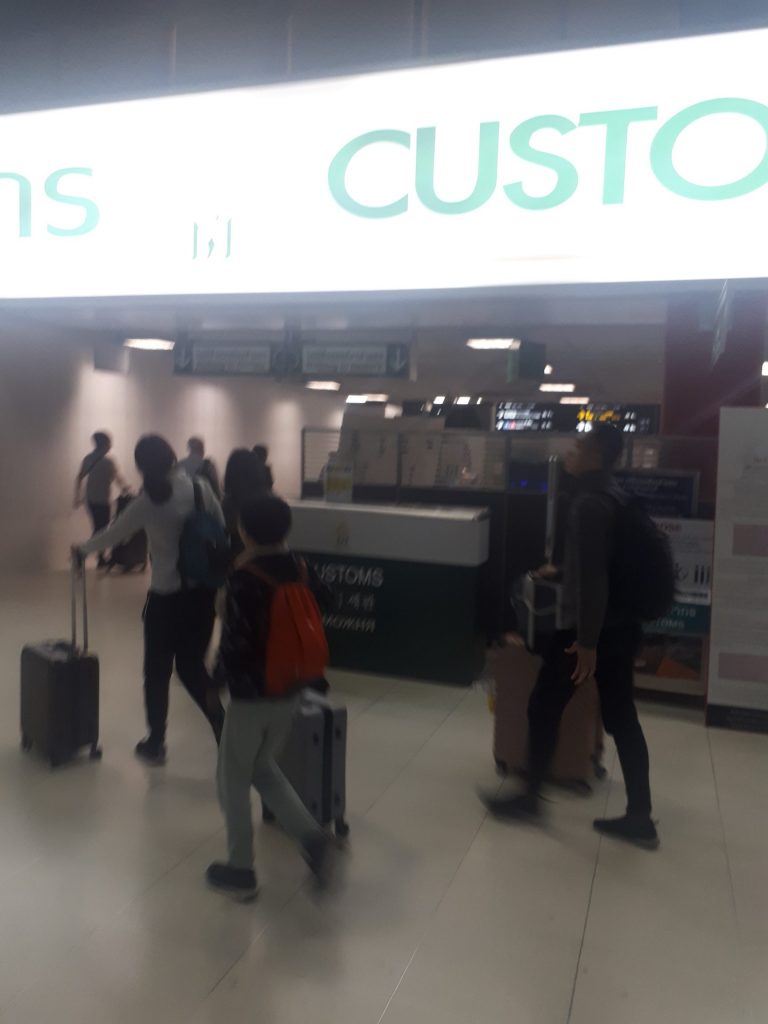
After collecting your bags, proceed through one of the Customs checkpoints. These are well marked with huge signs. Unless you’re carrying contraband, you’ll want to proceed through the “Nothing to Declare” checkpoint. You just walk through, 99% of the time there is no interaction at all with a Customs officer.
Note: Thai Customs is fairly lax but don’t bring more than 1 liter of alcohol from your home country. You can buy as much alcohol as you want at the duty free shops in the luggage hall (and it is fairly cheap here because it’s tax free).
Step 3: Get a Thai SIM card and money
After clearing Customs you are in the final hall, the pickup hall. There are vendors offering many services here such as telecom, currency exchange, ATMs, and just about everything else you would need.
Note that if your ATM card from home has a VISA or MasterCard logo, it should work just fine at any ATM in Thailand, but there is a fee of about $7 every time you use it!
Be advised that virtually all vendors in Thailand except Thai baht only. Given the large ATM fees you may wish to bring a substantial amount of cash in a major currency with you and then convert it to Baht (USD, EUR and INR will have good exchange rates in Thailand, RSD will not).
Or, you can suck it up, do a big ATM withdrawal and eat the fee (typically the maximum is $600).
I would suggest employing a combination of these strategies – bring some cash with you and change it to baht at the airport, do one or two ATM withdrawals later in the trip if you get low.
Lastly, foreign credit cards and debit cards generally work with no problems in Thailand and will be a fine option for paying many vendors, but your bank may charge international transaction fees.
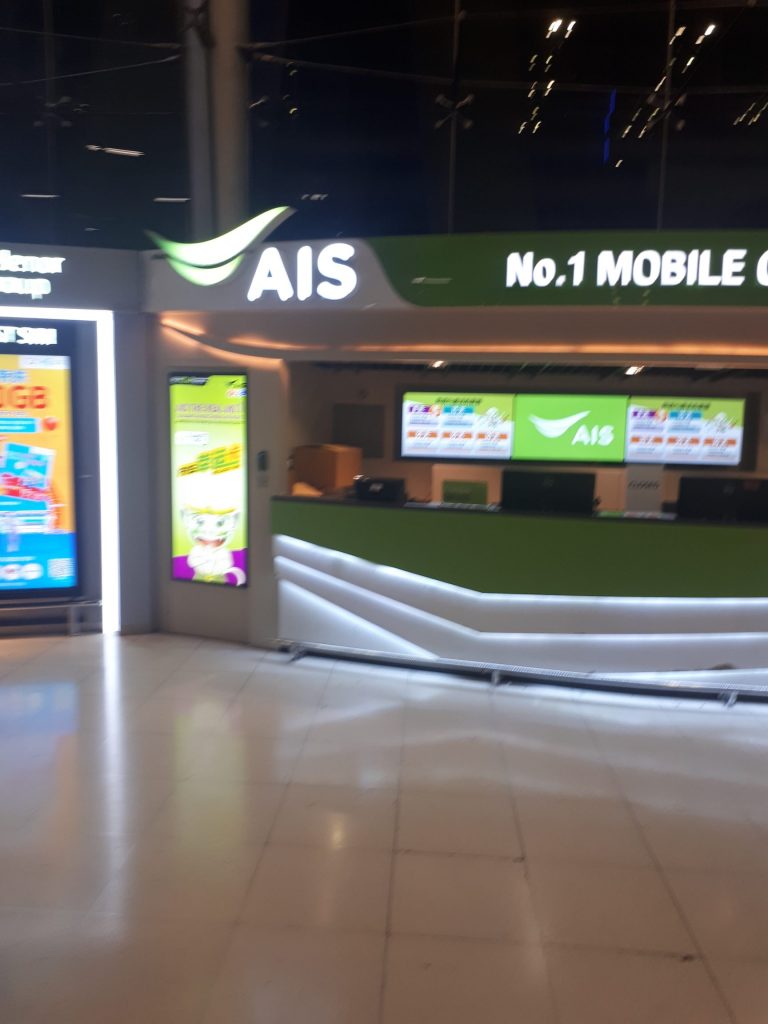
You should pick up a Thai SIM card in this hallway. Some of the major mobile operators in Thailand are True, AIS, and DTAC — any of them will suffice. They should all offer some sort of tourist service package, these typically offer something like unlimited data for two weeks and cost around $20. Give me your receipt and I will reimburse you after the trip.
The mobile shop will swap in your new SIM card and configure your phone to use their network at no extra charge. Test your Internet connection before walking away to make sure it works.
Step 4: Get picked up and check into your hotel
Once you’re online, CALL me via Slack and I’ll arrange a pickup for your via Grab, the local equivalent of Uber. (Note that the car sent by Grab might be a regular car or a taxi. In either case you will not have to pay anything to the driver).
I’ll send you confirmation of the pickup a few minutes after our call. You’ll be instructed to wait at a specific, numbered arrival gate. For instance, Arrival Gate #7. You will also be provided with your driver’s mugshot, car make and model, and license plate number.
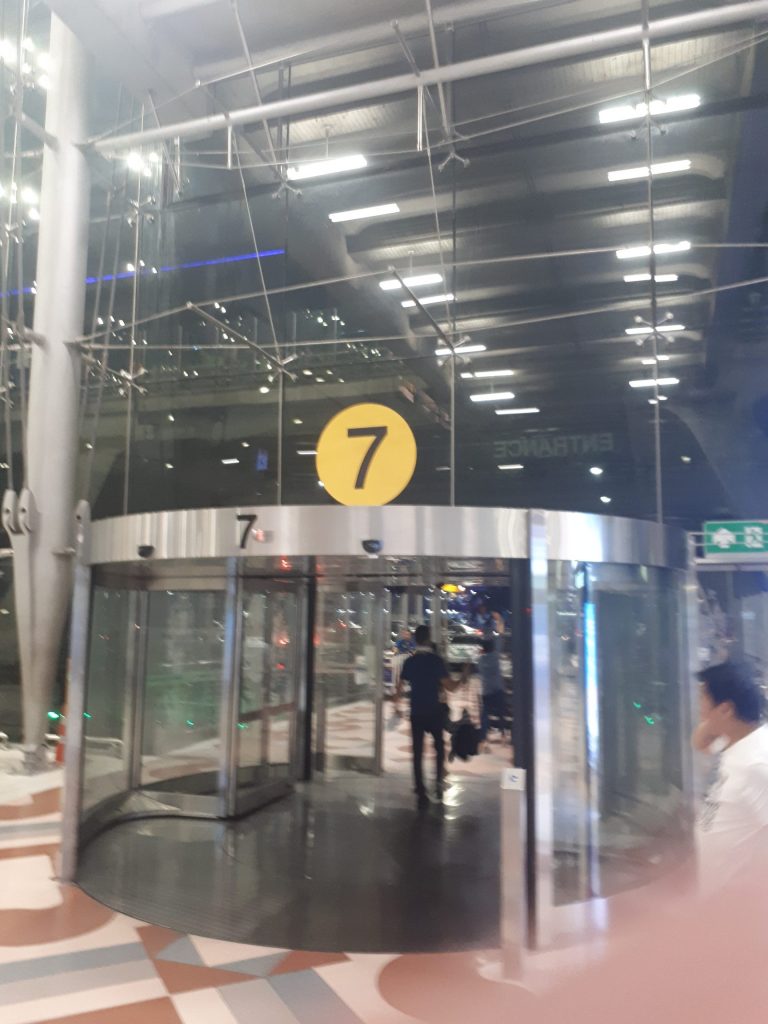
Just walk down the big arrivals hall until you find the door which matches your assigned number. Exit the building, cross the first road and wait on the island between the first and second roads.
Once you’re there, take a selfie and send it to me along with your Thai phone number; I’ll forward these to the driver so he can find you more easily.
The Grab car will arrive on the second road. Get in and the driver will take you to your hotel.
At the hotel, proceed to reception where you’ll be asked to provide your passport and possibly a copy of your booking confirmation.
Congratulations, you’ve arrived in Thailand. Welcome to the Land of Smiles!